If You Just Bought an RV, Here's How to Protect Your Roof
If you just bought an RV, you’re probably excited for road trips, camping adventures, and the freedom of travel. You’ve invested time and money into choosing the perfect model, planning your trips, and ensuring everything is set for your travels. But there’s one crucial thing many RV owners overlook—the roof.
The roof of your RV is the most exposed and vulnerable part of your vehicle. It takes the brunt of sun, rain, wind, and falling debris, and yet, many owners don’t realize it requires regular maintenance until it’s too late. A small crack, worn-out sealant, or unnoticed puncture can lead to serious water damage, mold growth, and expensive repairs.
This guide is for brand-new RV owners and those who never knew just how important roof maintenance is. By following these inspection, cleaning, and maintenance steps, you can avoid costly repairs, extend the lifespan of your RV, and keep your adventures worry-free.
Why RV Roof Maintenance Matters
Your RV’s roof is its first and most important defense against the elements. Without proper care, even the highest-quality roof can fail, leading to leaks that can cause extensive internal damage before you even notice a problem.
Water is the biggest enemy of an RV. Unlike houses, which have permanent roofing structures, RVs are designed to be lightweight and flexible, meaning their roofs have more seams, joints, and potential weak points. These areas expand and contract due to changes in temperature, making them susceptible to cracks and gaps.
The Hidden Costs of Roof Neglect
A small leak that goes unnoticed for months can lead to:
-
Wood rot and structural damage inside your RV.
-
Mold and mildew growth, which can be hazardous to your health.
-
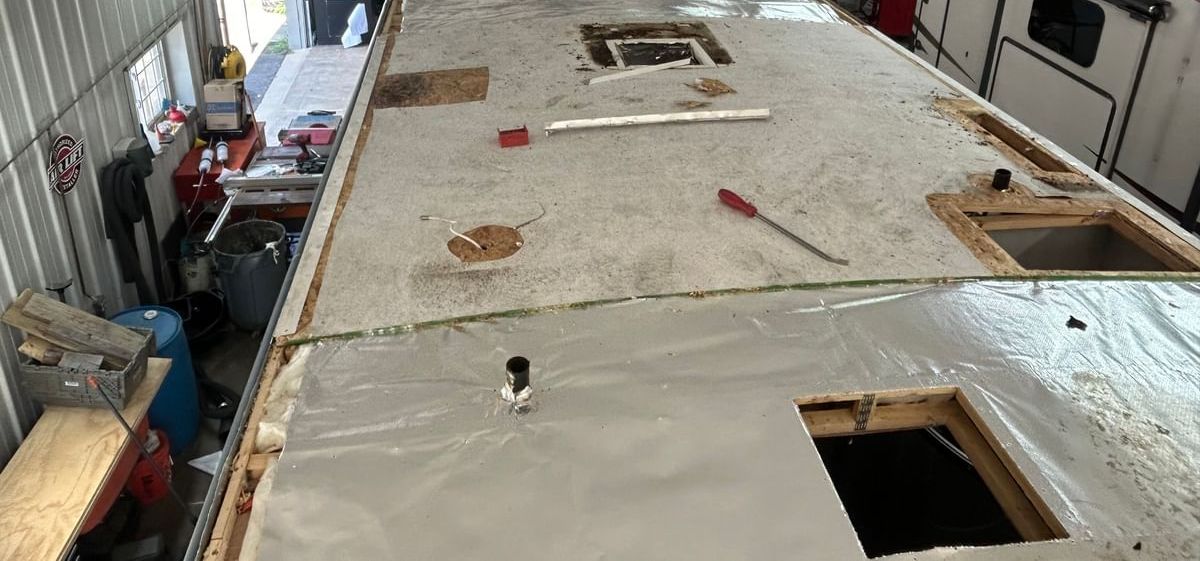
Delamination, where water seeps between the RV’s outer layers, causing bubbling or peeling.
-
Electrical problems, as moisture reaches wiring and appliances.
A full roof replacement can cost anywhere from $7,000 to $15,000, depending on the size of your RV and the materials used. However, routine inspections and maintenance cost only a few hundred dollars a year—a small price to pay for avoiding major repairs.
How Certified On-Site RV Service Inspects Your Roof
At Certified On-Site RV Service, we offer comprehensive roof inspections designed to identify and fix small problems before they become expensive repairs. Our multi-step inspection process includes the following:
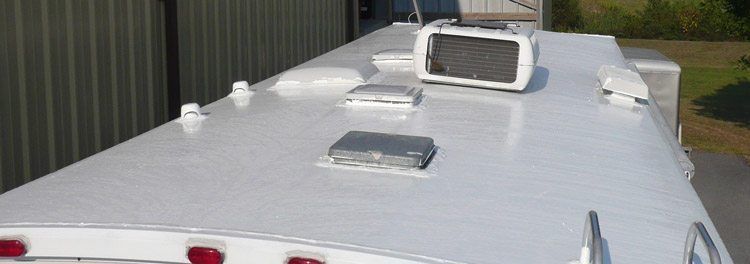
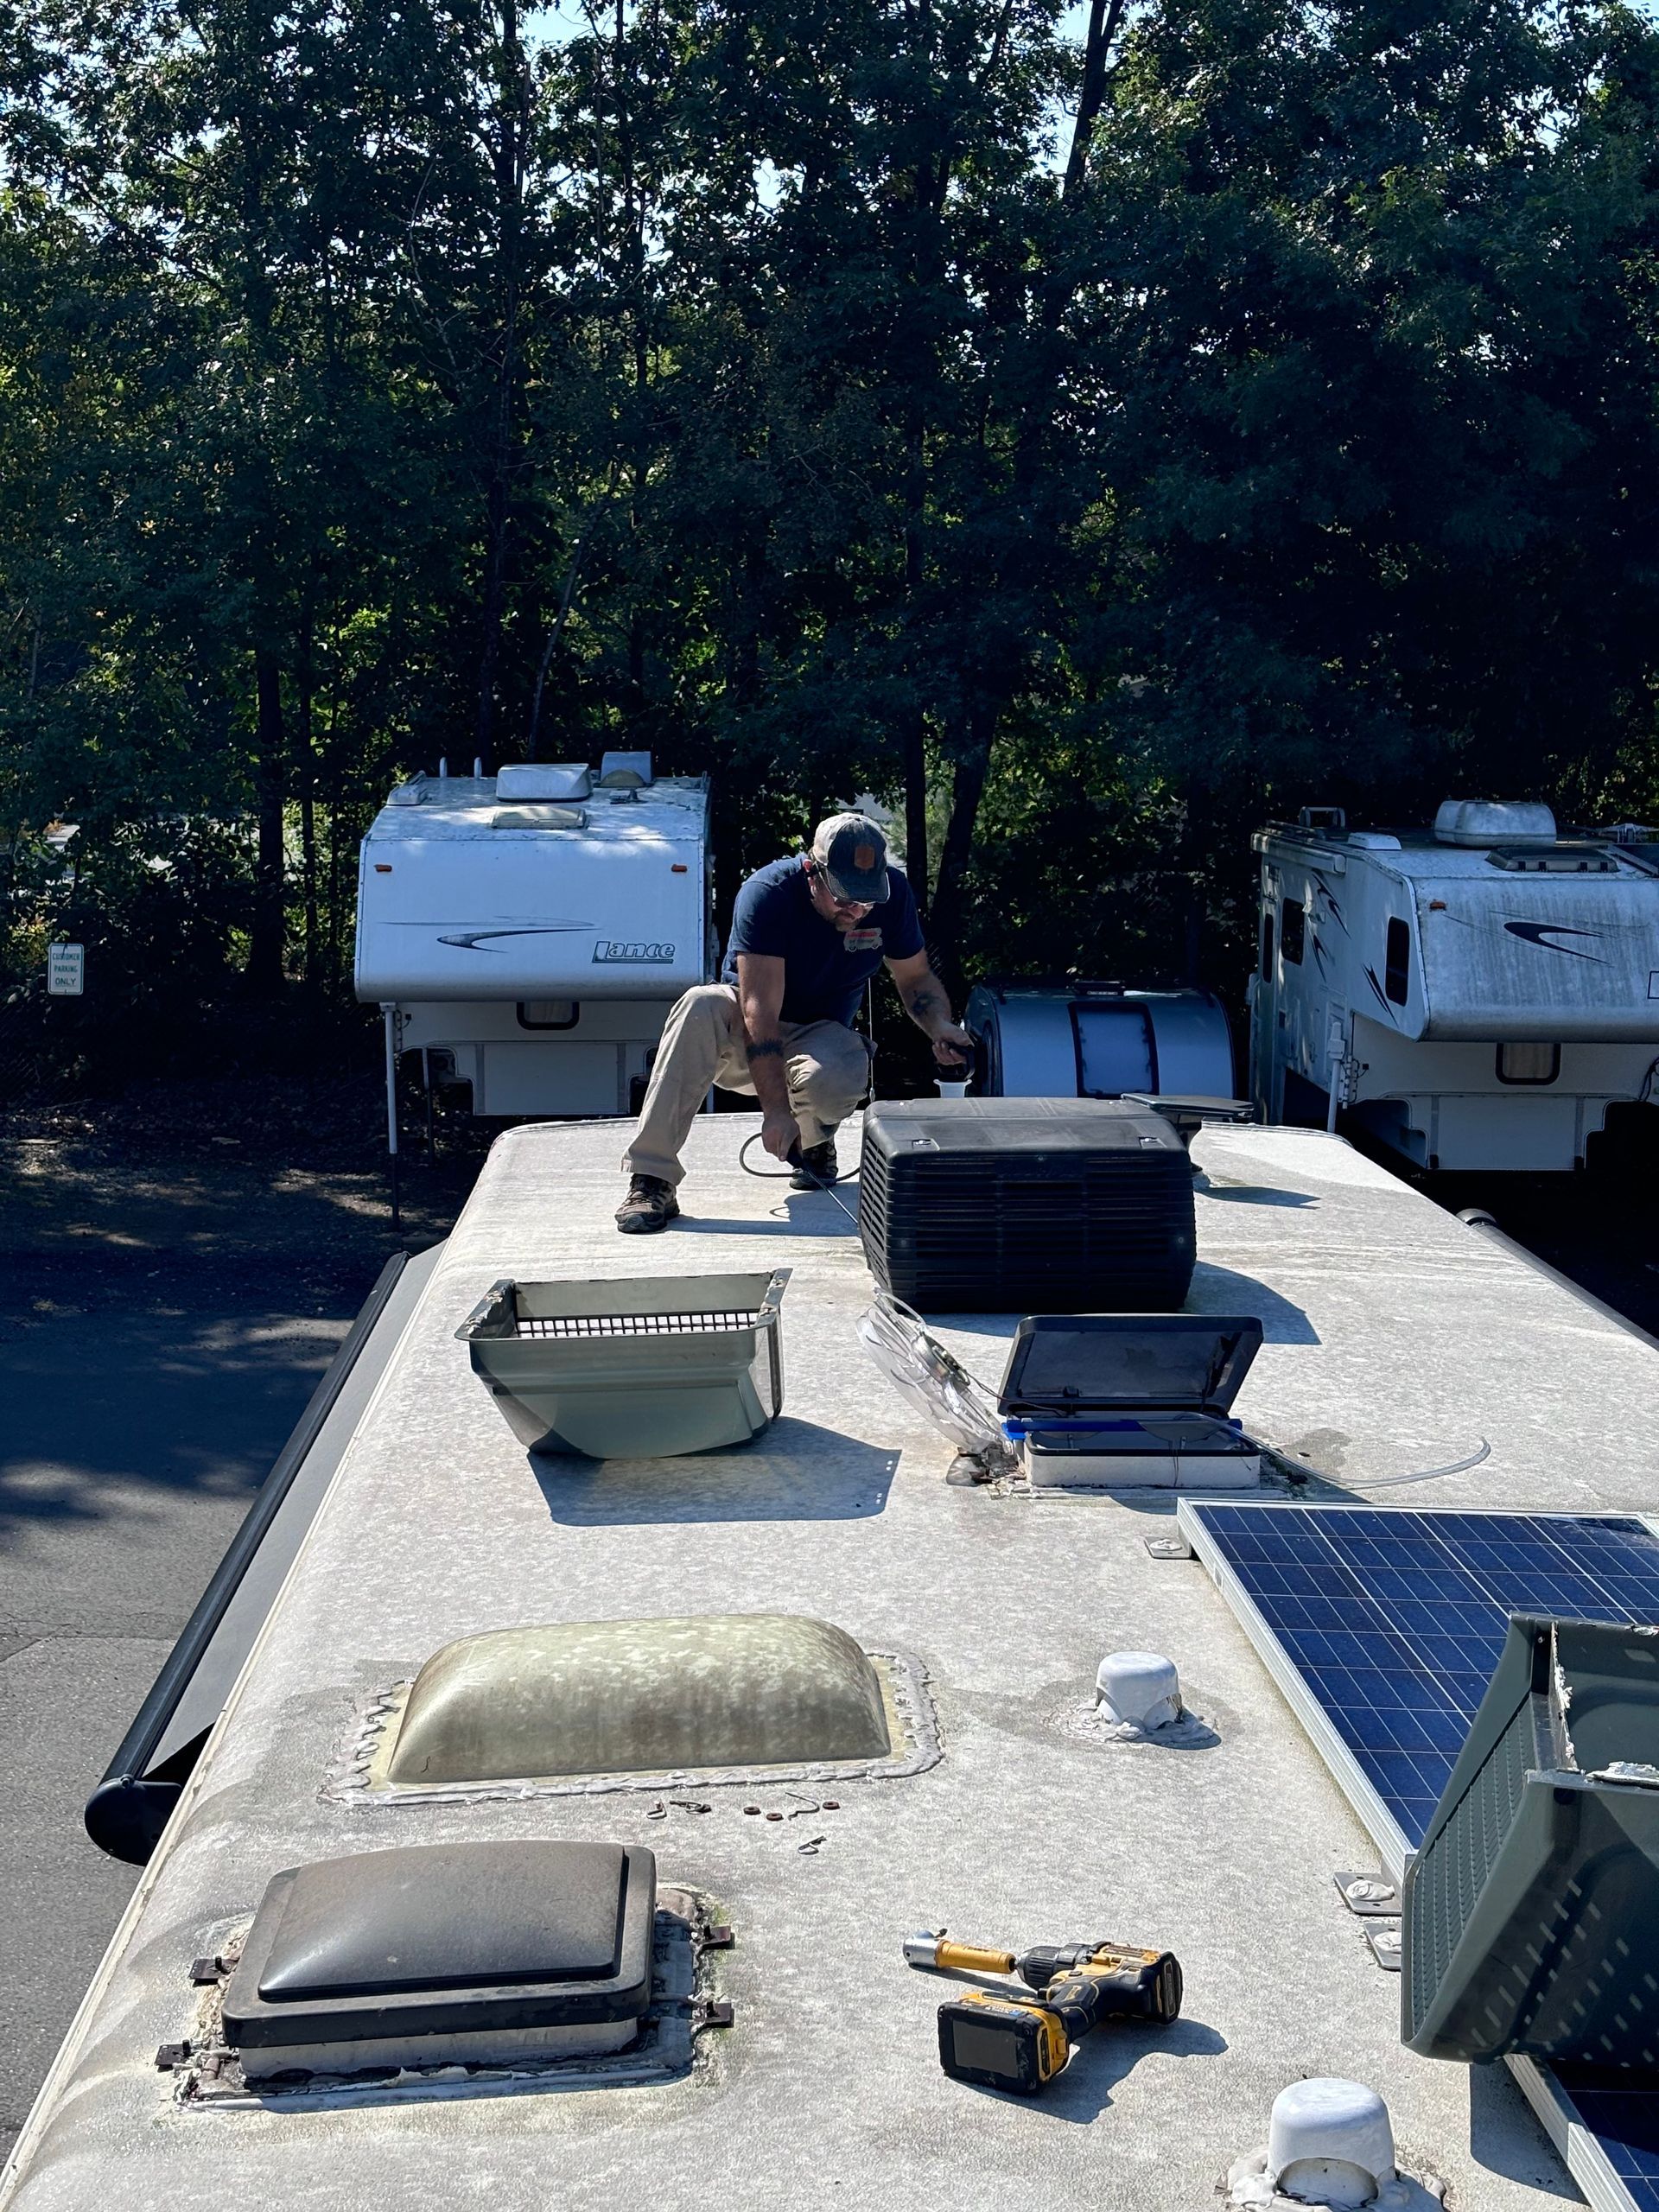
1. Visual Inspection: We begin by inspecting the roof’s surface for cracks, holes, abrasions, or lifting materials. Areas that appear dry, brittle, or discolored may indicate that the material is breaking down.
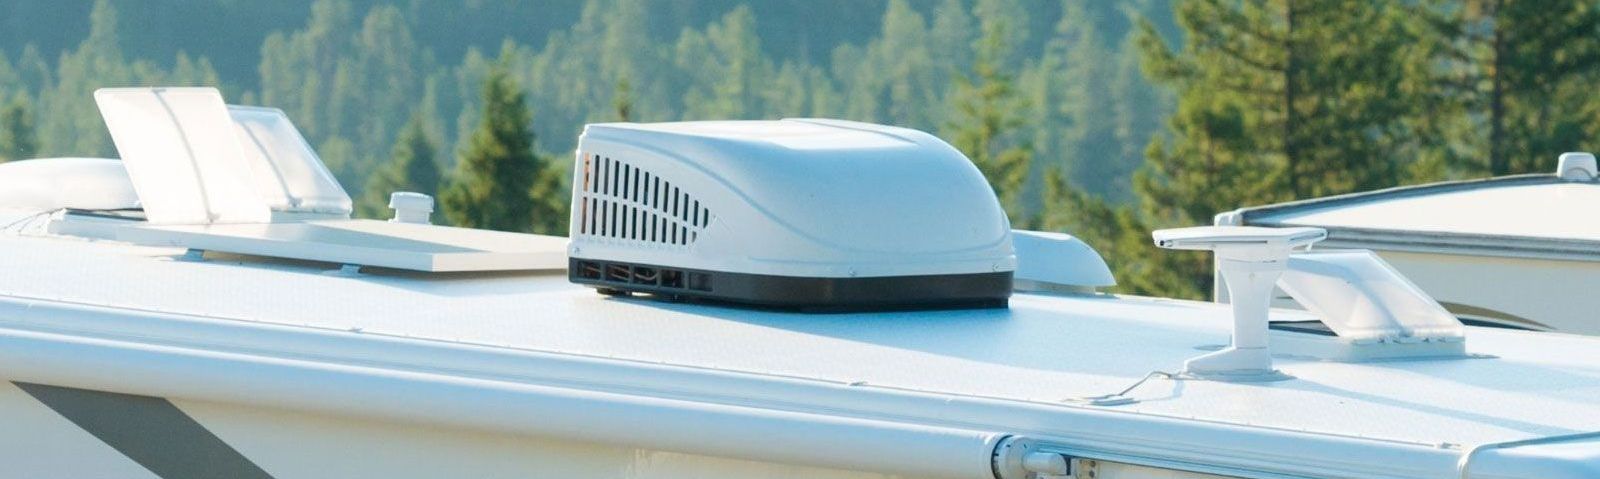
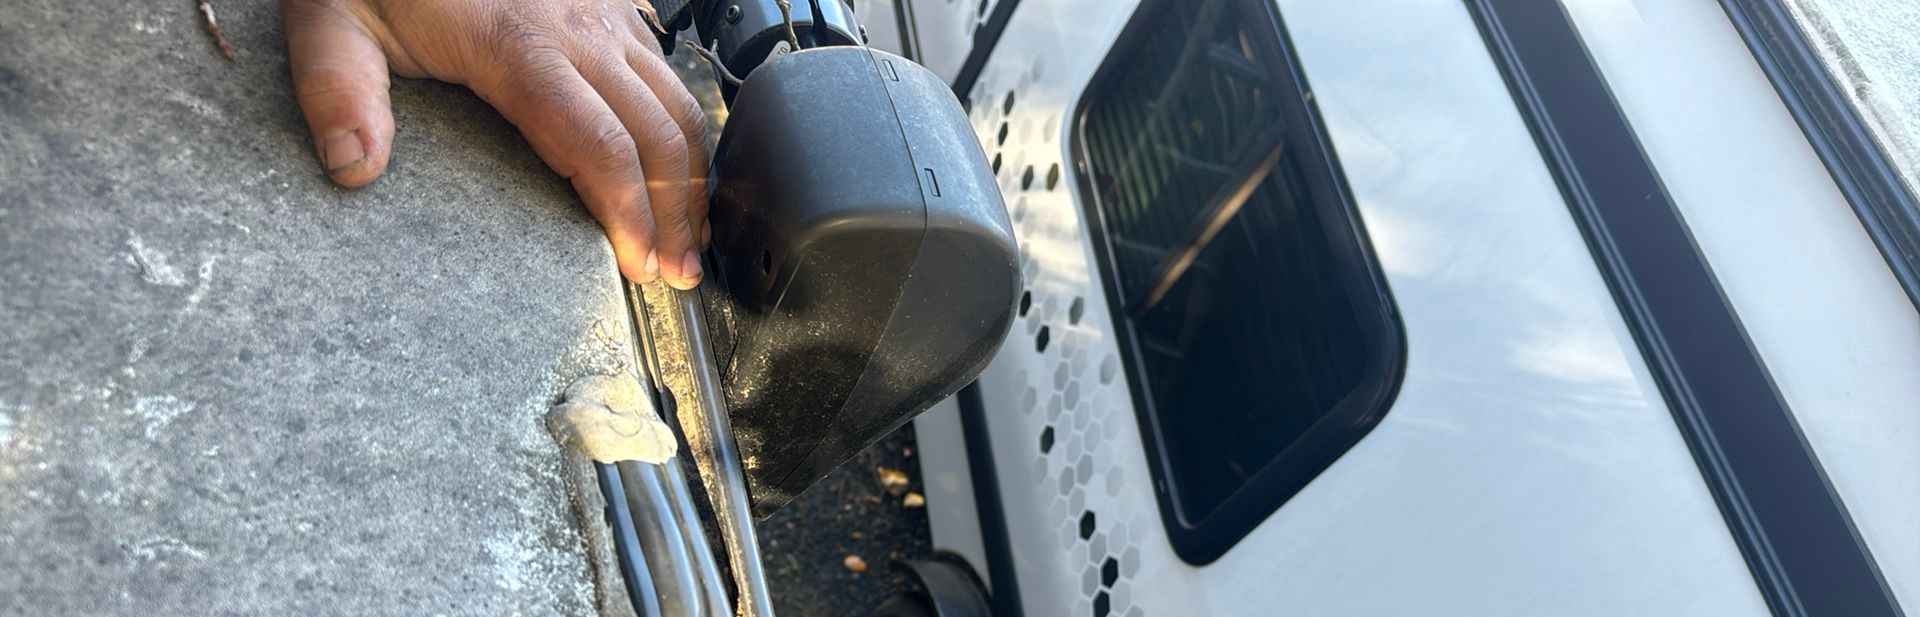
2. Sealant Examination: Next, we thoroughly inspect the sealants around vents, skylights, antennas, and edges. These sealants naturally dry out over time due to UV exposure, making them prone to cracking. If left unchecked, they can create an entry point for water, leading to internal damage.
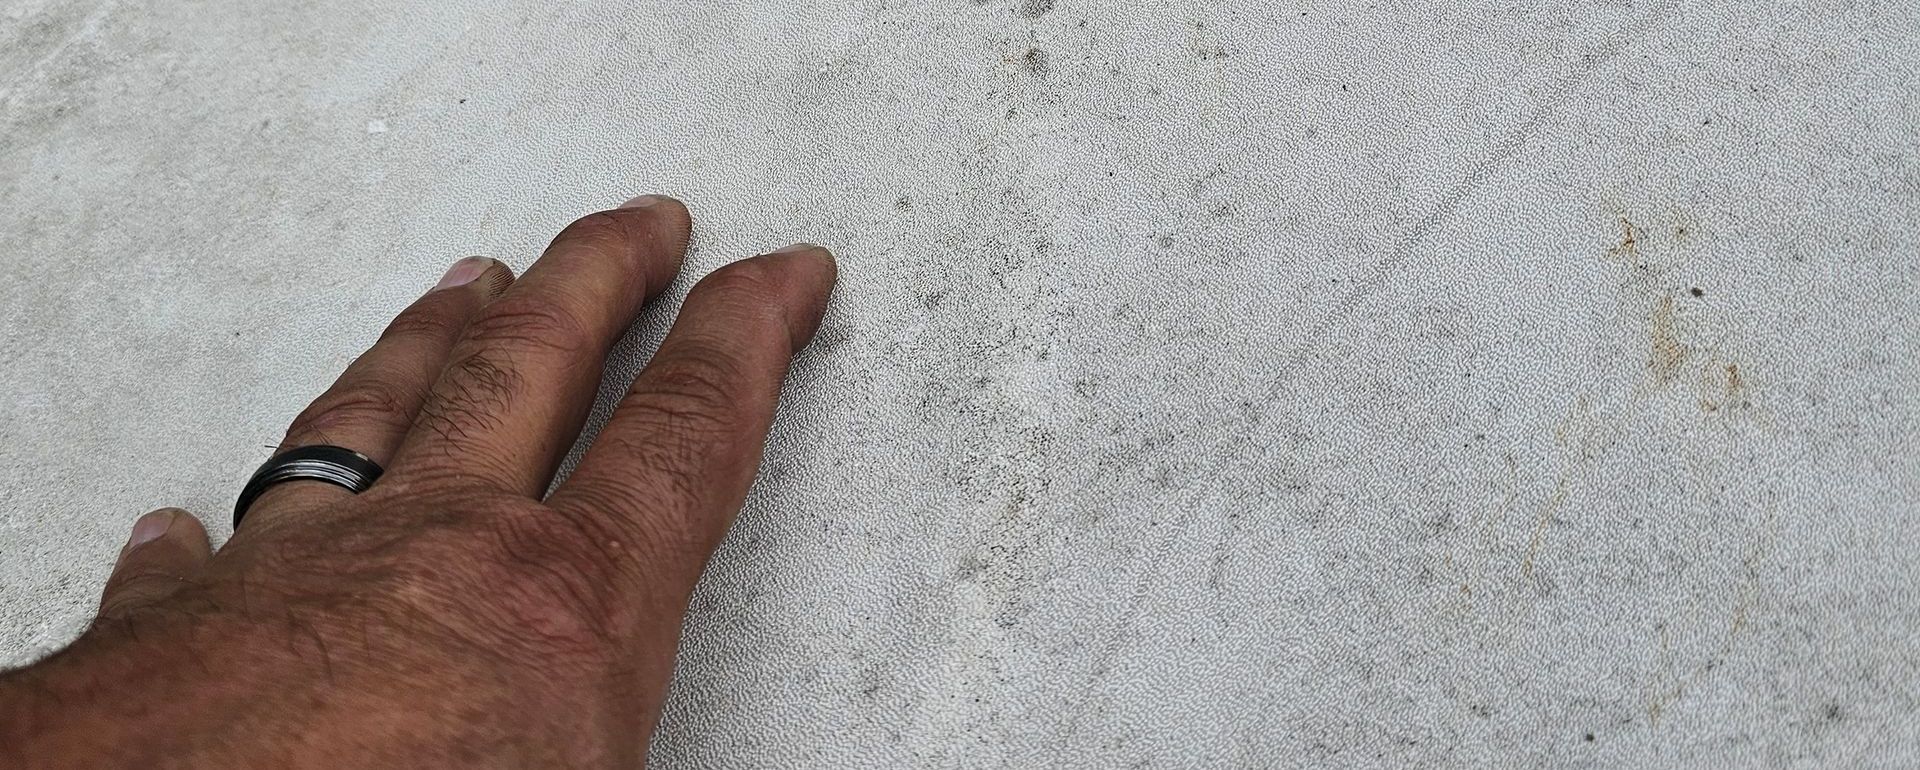
3. Soft Spot Detection: We check for soft spots, which can indicate hidden water damage. A soft, spongy area is often a sign that water has penetrated beneath the surface, compromising the structural integrity of the RV.
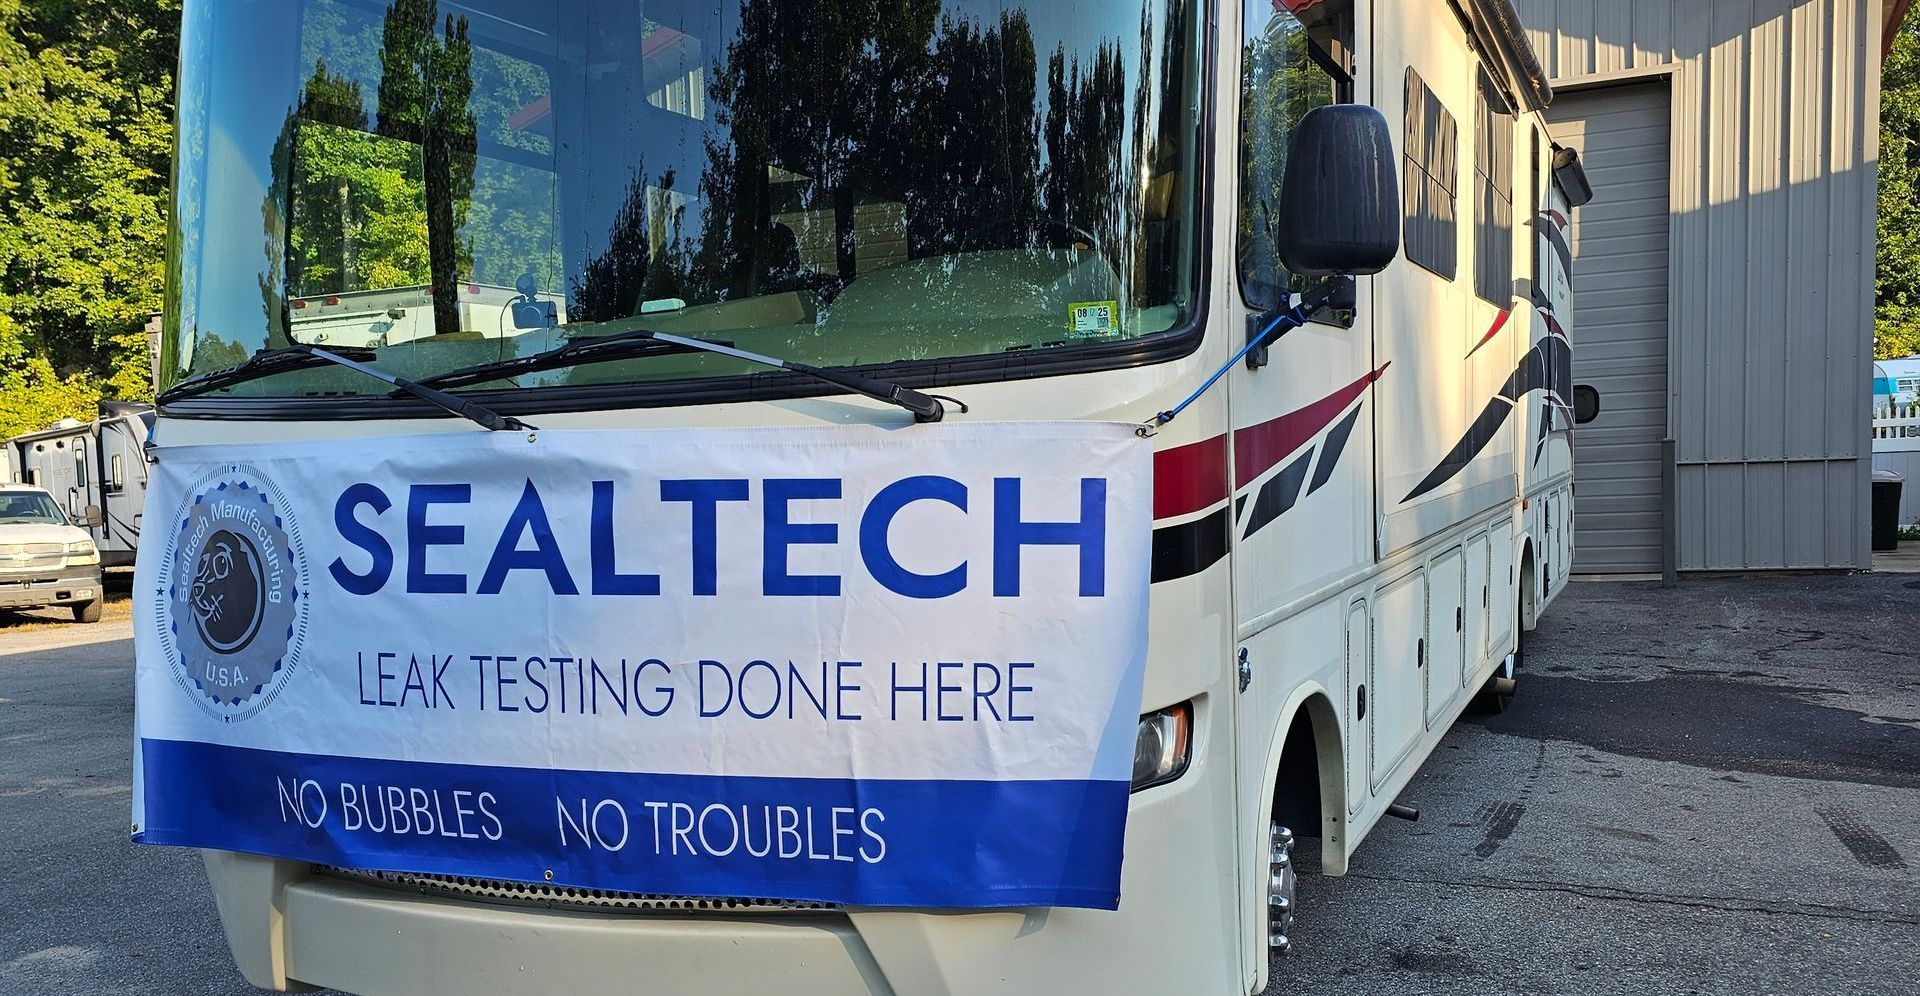
4. Leak Detection Technology: In addition to our visual inspections, we utilize RV leak detection technology, including Seal Tech, to identify leaks that may not be visible to the naked eye. This method helps us pinpoint problem areas effectively.
5. Moisture Detection Equipment: We also employ moisture detection equipment to assess the moisture levels within the roofing materials. High moisture readings can indicate existing leaks or potential issues that need to be addressed.
6. Thermal Imaging: Lastly, we use thermal imaging to detect temperature variations on the roof surface, which can reveal hidden leaks or areas of moisture intrusion. This non-invasive method allows us to identify problems without causing any damage.
By incorporating these advanced techniques into our inspection process, we ensure a thorough examination of your RV’s roof, helping you address potential issues early and maintain the integrity of your investment.
Understanding Different RV Roof Materials
Not all RV roofs are made the same. At Certified On-Site RV Service, we commonly see TPO (Thermoplastic Polyolefin) and PVC (Polyvinyl Chloride) roofs.
TPO is lightweight, flexible, and durable, making it a popular choice. PVC, on the other hand, is even more durable and offers enhanced protection against UV rays and moisture.
Older RVs often feature EPDM rubber roofs, but this material is being phased out due to its tendency to chalk and degrade over time, requiring frequent resealing. Less commonly, we see fiberglass and aluminum roofs, which are highly durable but can still develop cracks or leaks.
Environmental Factors That Can Damage Your RV Roof
Even with regular maintenance, environmental conditions can significantly impact the lifespan of your RV roof.
One of the most common culprits is high UV exposure. The sun’s rays can cause sealants to dry out and crack faster, leading to leaks. Parking in shaded areas or applying a UV-protective coating can help mitigate this damage.
Tree sap is another factor to watch out for, especially if you frequently park under pine trees. Sap can degrade the roof material, making it more susceptible to cracks and wear.
Lastly, be mindful of branch strikes. A single low-hanging tree limb can cause punctures, scrapes, or tears in your roof. Always inspect your surroundings before parking to minimize potential damage.
How to Inspect and Maintain Your RV Roof Yourself
While professional inspections are recommended at least twice a year, you should check your roof yourself every three to four months.
To perform a DIY inspection:
1. Use a stable ladder to access the roof safely.
2. Look for visible cracks, peeling sealant, or soft spots.
3. Check vents, skylights, and antennas for
loose seals or damage.
4. Remove
dirt buildup, tree sap, and any signs of discoloration.
If you notice any sealant deterioration, reseal it immediately to prevent leaks.
Final Thoughts: Protecting Your RV Roof for the Long Haul
Your RV roof is one of the most critical parts of your vehicle. Regular inspections, timely resealing, and taking precautions against environmental hazards will help prevent costly repairs.
If you're unsure about your roof’s condition or need professional assistance, Certified On-Site RV Service is here to help. Whether you need an inspection, reseal, or a full replacement, we’ll ensure your RV stays in top shape.
Schedule Your RV Roof Inspection Today!
Thinking about renting an RV? Get your free quote today!
Need RV Service? Contact us today!

Reach us for all your RV needs today!
Quick Links
Contact Information
Phone: 860-645-8233
Email: admin@certifiedonsiterv.com
Address: 17 Howard Rd.
Bolton, Connecticut 06043
Business Hours
Mon-Fri: 8:30 am - 4:30 pm
Sat-Sun: Closed
Payment Options:


We Also Accept: Android Pay and Samsung Pay